Capturing Clean Dialogue
Audiences will watch a grainy image. They won't sit through dialogue they can't understand. Sound is where cheap films are won or lost.
Why phone audio lets you down
Your phone's microphone is designed to catch everything around it, and it sits wherever the camera is. In a wide shot that might be three metres from your actor. The result is thin, echoey dialogue full of traffic and fridge hum. The fix isn't expensive gear; it's distance. Get a microphone close to the mouth, and keep it there.
Pick one of three mic setups
Option one: a lavalier. A small clip-on lav mic, wired into a second phone in the actor's pocket, gives remarkably clean dialogue. Hide it under a shirt button, taped so fabric doesn't rub. Budget wired lavs from brands such as Rode or Boya cost little.
Option two: a boom. A shotgun microphone on a pole, held just out of frame above the actor and pointed at their mouth, sounds more natural than a lav and doesn't need hiding. A painter's extension pole works as a boom. Someone must hold it steadily for every take, so this is a job for a dedicated crew member.
Option three: a field recorder. A compact handheld recorder like the Zoom H1n can sit just out of frame on a table or be boomed. It records better audio than most phones and has proper level meters.
“Get the mic as close as the frame allows — then get it a little closer.”The only sound rule you need on day one
Choose a quieter room
Bare walls and hard floors bounce sound around and make voices sound like they're in a bathroom. Soft things absorb it. Hang duvets out of shot, lay rugs, close curtains, and shoot in rooms with sofas and bookshelves. Before you roll, stand silently and listen: switch off fridges (and write a note on your car keys so you remember to switch them back on), air conditioning, buzzing lights and anything with a fan.
Outdoors, wind is your enemy. Use a foam cover or a furry windshield on your mic, and position actors with their backs to the wind. Choose quiet streets and early mornings, when traffic and building work are lighter.
Set your levels
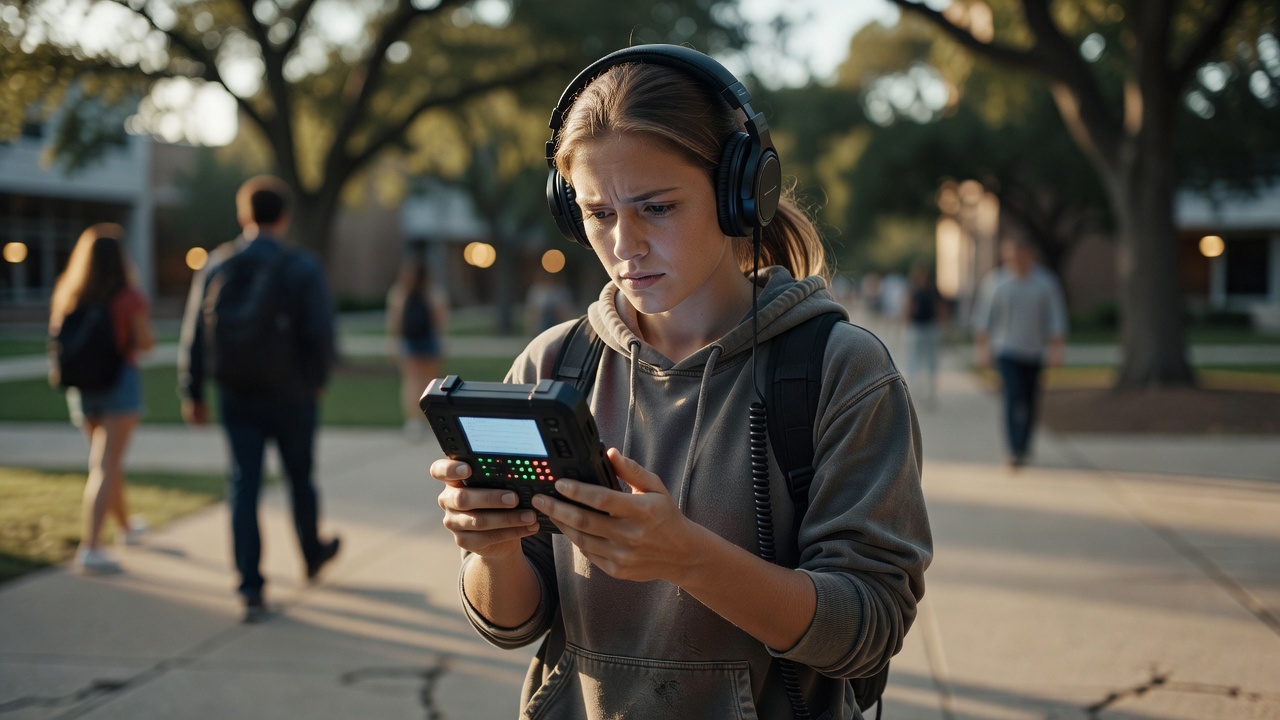
Record a test of your actor speaking at their loudest. The meter should peak around −12 to −6 dBFS, comfortably below the top. If it touches 0, the sound clips and distorts permanently. Too quiet is fixable; too loud is not. Wear headphones and actually listen to every take, not just the first one.
Sync sound the old-fashioned way
When you record audio on a separate device, you need to line it up with the picture later. A clapperboard does this: the visual snap and the sharp sound happen at the same instant. No slate? Clap your hands once, clearly, in front of the camera at the start of each take. Most editing software, including DaVinci Resolve, can also sync automatically by matching the waveform of the camera's scratch audio to your clean recording, so always keep the phone's own audio running.
Say the scene and take number aloud before the clap. "Scene three, shot B, take two." It feels formal. It will save you an hour in the edit.
Record room tone
At the end of each location, ask everyone to freeze in silence for thirty seconds while you record the room. This "room tone" is the subtle background sound of the space. In the edit, you'll lay it under cuts and gaps so the soundtrack never drops into unnatural dead silence.
Grab wild lines and effects
If a line was spoiled by a passing plane, ask the actor to repeat it a few times right there, off camera, into the mic. These wild lines often fit back under the picture surprisingly well. Record footsteps, doors closing and keys jangling too; these small sounds make a film feel real.
- Clip-on lav mic or shotgun mic
- A second phone or a small recorder
- Closed-back headphones
- Foam or furry windshield
- Duvets and blankets for damping
Record the same line with the phone across the room and with a lav close up. Listen on headphones. Then head to cutting your first sequence.